Hello and Happy Sunday to you all! Thank you SO MUCH for your sweet comments on my mini album! I'm overwhelmed by your generous response to what you've seen so far! I sure hope I don't disappoint you with what I've done to the inside and I certainly appreciate you coming back to take a look! This is my second week posting as November Guest DT Diva for Creative Scrapbooking Divas. You can find their blog by clicking on the bright pink button in my sidebar.
I hope I didn't throw you off with my title because you won't be seeing any photos of my house in this album! Actually, you won't be seeing any photos at all! lol This album is a Faithbooking project. I didn't actually know there was such a term as "Faithbooking" until I found the CSD blog. You know how much I enjoy using Scripture verses on my projects and pages...well, enough rambling, right...let me show you what I did!
This is what the first page looks like when you take off the cloud-like closure:
Isn't that sun cute shining over the house? Can you guess what my house is filled with? The first page is:
Our Home is Filled With Light. I had lots of fun with this page. I spread it over two pages because the first one is quite small. Here are a couple more pictures of it. I added Stickles to the sun, pleated vellum for the lamp shade, and a doily lace punch under the lamp.
On the tags I wrote some of my favorite Scripture verses about being a "light". The tags have a second generation stamping of a chandelier in the background. If you click on the picture you'll be able to read a couple of the verses I've chosen.
Our Home is Filled With Peace. Now this word has nothing to do with our nest being empty and our girls being gone! lol Thankfully our home has always been a place of peace. I heat embossed "Peace" on a tag pocket. There are four tags with lots of room for verses. Some fiber, ribbon, and buttons for embellishments.
Here is a look at the page with the tags pulled out. I used two different styles. Again, please read some of these tags...the verses are fantastic! The next page is made to follow this one.
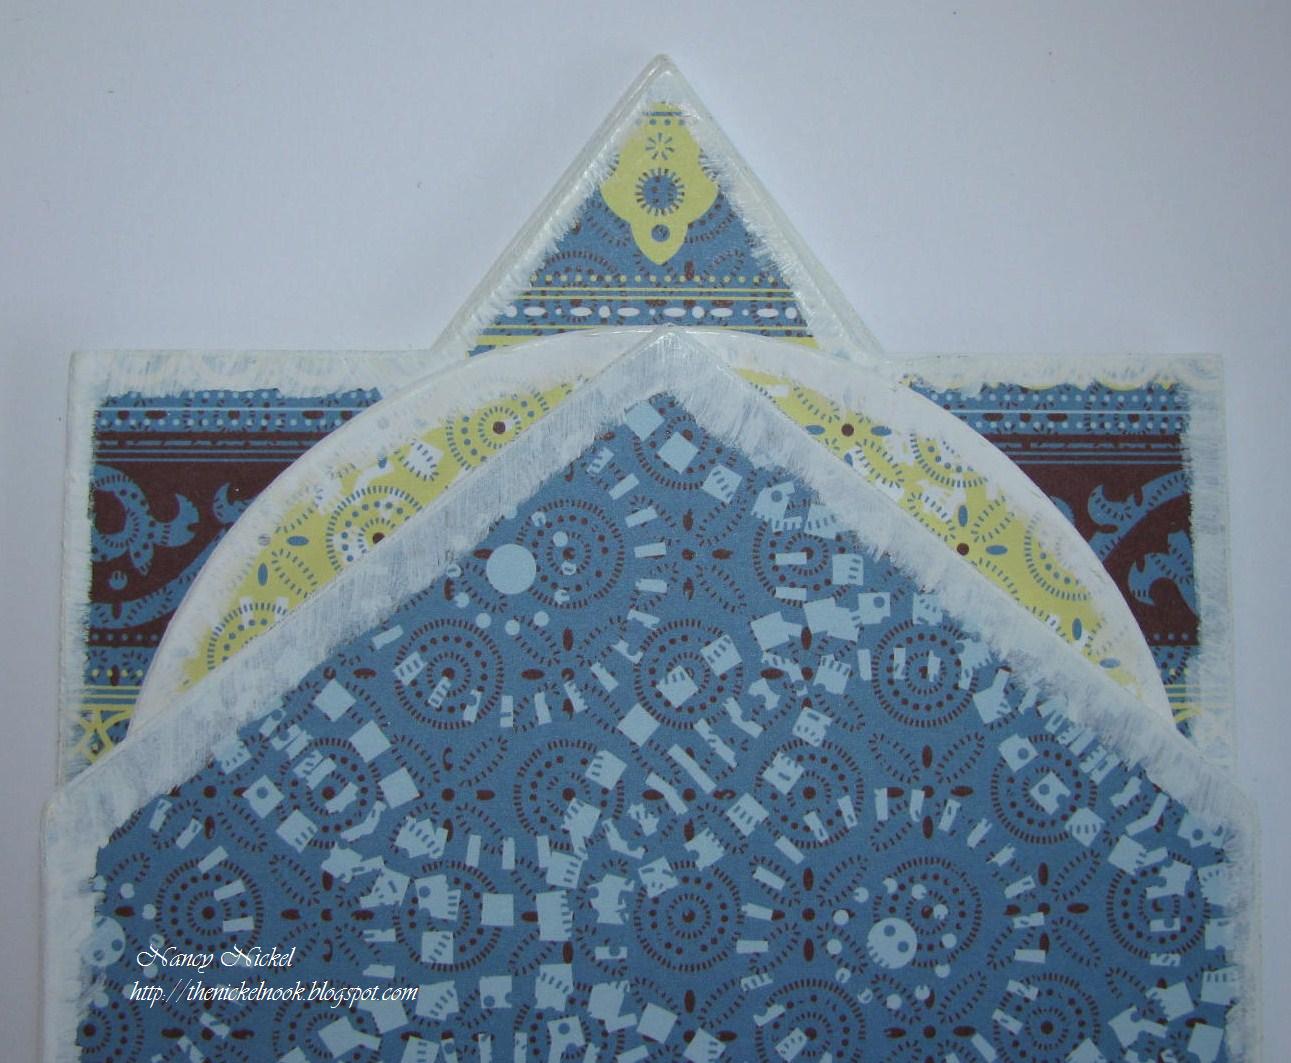
Our Home is Filled With Quiet. Again, this has nothing to do with our girls being out of the house! Well, on second thought, it has become significantly quieter since then! ;o) This page also has a pocket on it. I decorated it with some dies that I cut with my Slice Machine, and a border punch.
Here's what this page looks like open. To me a cozy chair, a fireplace, and flowers are all "quiet" things.
Here's another photo that includes the tag from the front pocket as well. The pull-outs on this page actually open, so there's lots of room to write on them. The verse on the tag to the right about living a quiet life is very special to me. Years ago when I had my website it was front and center on my homepage. I guess you could even call it one of the "theme verses" for my life!
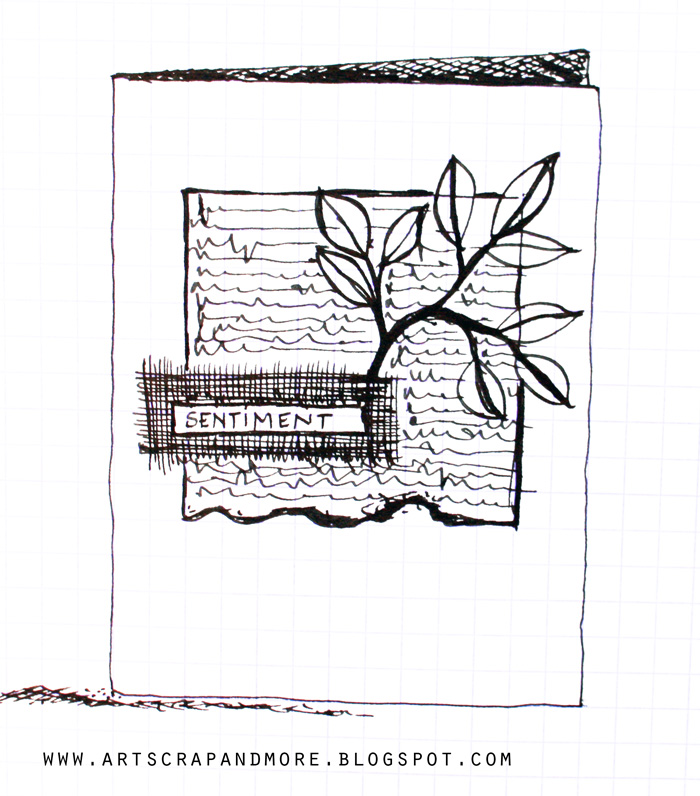
Here is a template for the pocket that I made for my Quiet page.
Instructions for pocket:
Score in half both ways along score lines - at 4 1/4".
- Cut along diagonal cutting lines. *Note: if you want to use a border punch along angle cut it should be done now.
- Apply glue along glue lines. *Note: I advise using a wet glue for this purpose. My favorite is Scotch Quick Dry Adhesive; it's easy to apply in a very thin line, it dries very quickly, and the tags won't get stuck in it.
- As soon as you have applied the adhesive, fold along the horizontal score line and have A meet B. Hold for a moment until the glue is set.
- When glue is all dry fold in half along vertical fold line.
I sure hope that makes sense. Let me know if you have any questions. This design can be adjusted for any size pocket you need. My tags are cut 7 1/4" X 4" and folded in half to measure 3 1/8" X 4". This size may need to be adjusted depending on how thick a line of adhesive you use.
One more little tip I'll share with you is how I made these little flower clips.
I layered two Prima flowers and attached them together with a brad. I punched out a 1/2" circle from blue cardstock. I laid a white paperclip on the circle and then sandwiched it together with the flower using a Zot adhesive dot. It works great! I put one on the corner of each of my folio tags. They serve as a little pull to take the tags out of the pocket.
Okay, friends...that's it for today! It was another super long post. Thanks so much for coming! I hope you'll come back again next week to see what else my little house holds! Have a very happy week! :o)
Materials Used That Haven't Already Been Listed:
Light:
Dies: Sizzix Scallop Tags;
MM Slice Design Card: Home Sweet Home, Summer;
Ranger Stickles - Gold;
Punch: Martha Stewart - Doily Lace;
Stamp: Inkadinkadoo - Chandeliers;
Ink: CTMH - Moonstruck;
Stash: Buttons, Vellum.
Peace:
Stamps: Recollections - Feelin' Groovy;
Bling: i-Rock Compact - Jewels;
Stash: Ribbon, Fiber.
Quiet:
MM Slice Design Cards - Home Sweet Home,
Vintage Findings;
Bling: i-Rock Compact - Crystals;
Flowers: Prima;
Martha Stewart Border Punch;
Brads: Recollections.